Using the timeline scroll area
The timeline 'scroll area' is an area bordered by a coloured box that indicates the time period that is shown in the currently active view:
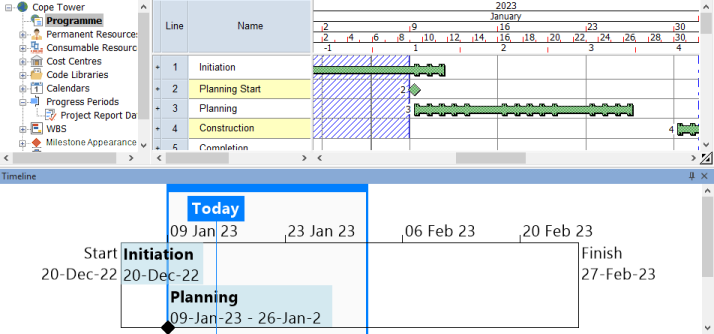
In the following illustration, the scroll area shows that the active view is displaying the month of January:
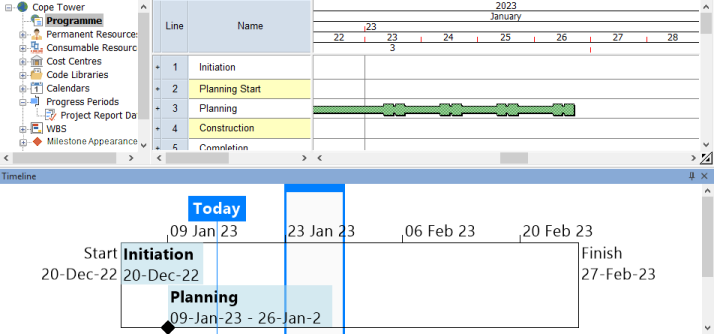
In the following illustration, the scroll area shows that the active view is displaying one week in January:
As you scroll through the project using the scroll bars in the bar chart, the scroll area moves along the timeline as well; if you adjust the scale of the date zone, to 'zoom in' or 'zoom out' of the project, the scroll area changes its size automatically.
Specifying whether to display the scroll area
You can specify whether or not to display the scroll area. You may want to hide the scroll area when exporting or printing the timeline.
To specify whether to display the timeline scroll area:
- Click in the timeline pane.
- On the Format tab, in the Show/Hide group, select the Scroll Area check box to display the scroll area, or clear the check box to omit the scroll area from the timeline.
Using the scroll area to adjust the scope of the active view
You can adjust the scope of the active view by clicking and dragging the scroll area's top border. To do this, hover the mouse pointer over the top border until the cursor appears as  , then click and drag the mouse pointer to the left or to the right. As you drag, the scroll area moves and the active view scrolls to display the same time period.
Configuring the colour of the scroll area's bounding box
You can configure the colour of the timeline scroll area's bounding box. To do this:
- Click in the timeline pane.
- On the Format tab, in the Style group, click Timeline Appearance. The Timeline Appearance dialog appears.
- Specify the colour of the border that appears around the scroll area in the project timeline in the Border colour field.
- Click OK.
Introduction to project timelines
Adding tasks to a project timeline
Configuring a project timeline