Step 8 - Drawing a shadowed text box
Now you have grouped together the picture and text that you added to the border, you will draw a shadowed box containing text. This will show you the way in which you can combine shapes and text to make your borders look attractive.
To draw a shadowed text box:
- Click
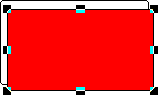
 and draw a rounded rectangle, as illustrated below:
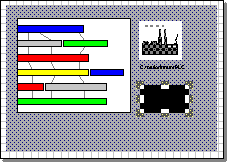
- The rectangle is initially filled with solid black. Use the Foreground control to change the foreground colour to white.
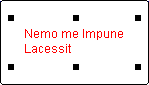
- Click away so that no items are selected, preset the text attributes to Arial, size 14 with a solid red fill, then enter text inside the rounded rectangle:
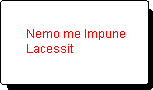
- Select the rounded rectangle and resize it to fit neatly around the text if necessary.
- Draw another rounded rectangle, the same size as the first, but slightly offset from the original rectangle, as illustrated below:
- Double-click on the new rectangle. You see the Shape tab of the Details dialog. Set a solid black foreground and fill style, clear the Outline check box, then click OK.
- With the new rectangle still selected, select the To Back command from the Draw menu, then select the main background rectangle that you created in step 4, and send that to the back. The black rectangle now creates a shadow effect:
- Select both rounded rectangles and the text they contain and group them together.
In step 9, you will add the project title to the border.
|
|
|