Step 5 - Inserting a picture
Now you have drawn a background for the border, you will insert a picture into the border. Inserting pictures is a good way to insert your company logo into borders.
To insert a picture:
- Click
 .
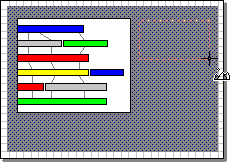
. - Click and drag the cursor to outline the area illustrated
below:
- Release the left mouse button when the outline is the required size and shape. You see the Picture tab of the Details dialog.
- Click Filename and select PLANT.BMP from within the Asta Powerproject or Asta Easyplan \Clipart folder on your computer. If you cannot locate this file, locate another BMP, EMF, GIF, JPG, PNG or WMF file.
- Select the Embed
Picture and Preserve aspect
ratio when sizing check boxes, then click OK
to close the Details dialog.
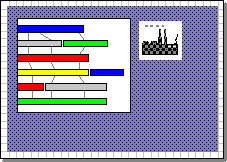
The picture is displayed on the border:
- Click away from the picture, the chart area and the background rectangle so that no items are selected.
In step 6, you will add text to the border
|
|
|