Step 4 - Drawing a background
Now you have defined the area in which a chart or histogram will be placed when you print the border from Asta Powerproject or Asta Easyplan, you will draw a background for the border.
To draw a background:
- Click
 .
. - Click and drag the cursor to outline the size and position of the rectangle that will form the background, following the margin guidelines.
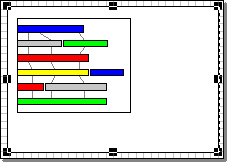
- Release the left mouse button when the outline of
the background matches that of the margins. The rectangle is displayed
on the border:
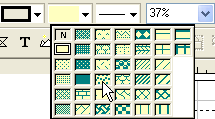
- The rectangle is filled with the current pattern and
colours. With the rectangle still selected, drop down the Pattern control on the style bar and
select a pattern to display within the rectangle:
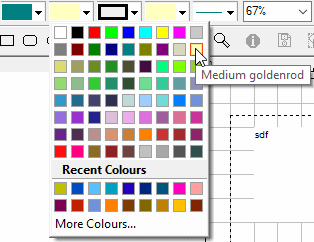
- Drop down the Foreground
control on the style bar and select a foreground colour to display
within the rectangle:

- Select a background colour using the Background control:
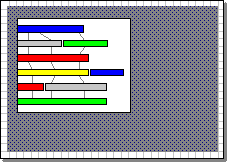
- Double-click the rectangle. You see the Shape tab of the Details dialog. This dialog provides you with an alternative method of formatting shapes.
- Clear the Outline check box and click OK to close the Details dialog. The rectangle is drawn without an outline, using the pattern and colours you have selected:
In step 5, you will insert a picture into the border
|
|
|