Formatting the bar chart
You use the bar chart - a Gantt chart - to view a project in graphical form and to draw tasks and links in a project. You can format the bar chart in many ways, a few of which are described here.
Displaying and hiding elements of the bar chart display
On the Format tab of the Ribbon, in the Show/Hide group, are a series of "display switch" controls that you can use to display and hide different elements of the bar chart display:
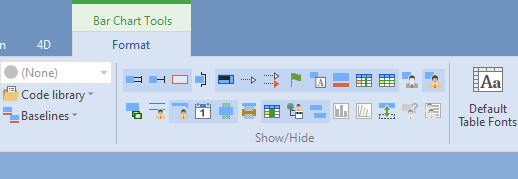
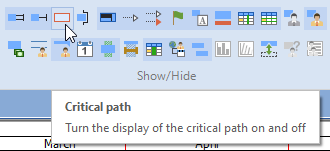
Position the mouse pointer over a control to display a popup that shows which element the display switch controls:
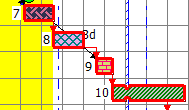
When a display switch is selected, it looks like this -  - and the related element of the bar chart is displayed.
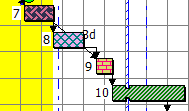
When a display switch is not selected, it looks like this -  - and the related element of the bar chart is not displayed.
Experiment with some of the display switches now. Turn them on and off and see how this affects the bar chart. For example, with the
With the
Displaying tasks using a default appearance
At the moment, the tasks in your project are displayed using the appearances of the codes that have been assigned to them from the Sub-Contractors code library. You can choose to display tasks using a default appearance. You may want to do this - for example - to hide the information that shows which contractors are working on particular tasks.
To display tasks using a default appearance:
- Right-click a blank area of the bar chart and select Format Bar Chart. The Tasks tab of the Format Bar Chart dialog appears.
- In the
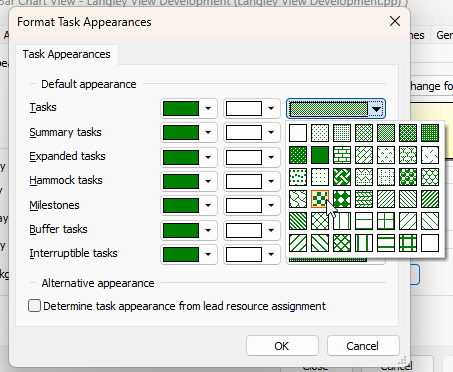
- Click Change appearances to display the Format Task Appearances dialog in which you can specify the default appearance of different types of task - one appearance for tasks; one for summary tasks;
- Use the Tasks colour and pattern selectors to change the default appearance of tasks:
- Click OK to close the dialog and return to the Format Bar Chart dialog.
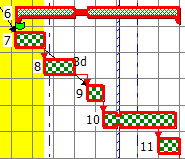
- Click Apply. The revised default appearance is applied to tasks in the bar chart:
- Before you continue, click the Codes on tasks radio button and click Apply to reapply the appearance of codes to the tasks.
Displaying textual information in the bar chart
You can display fields from the spreadsheet to the left of tasks, to the right of tasks and over the middle of tasks. This can be useful to highlight dates or other information.
To display textual information in the bar chart:
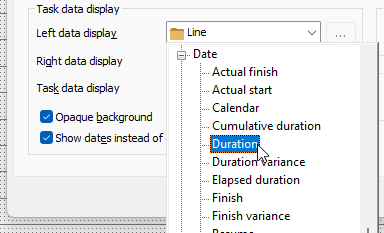
- In the Task data display group on the Tasks tab of the Format Bar Chart dialog, click the Left data display field and select the Duration field from the Date group:
- Click the Right data display field and select the Sub-Contractors field from the Codes group.
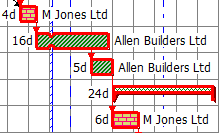
- Click Apply. The selected fields are displayed to the left and right of tasks in the bar chart:
- Click Close to close the Format Bar Chart dialog.
Hiding and showing specific tasks
You can hide specific tasks from the bar chart at any time. You may want to do this to hide particular tasks before printing a project. Once a task has been hidden, you can reshow it at any time.
To hide a number of tasks from the bar chart:
- In the Super-Structure summary group, CTRL-click the Ground-Floor Brickwork and Roofing tasks to select them
- Right-click one of the selected tasks and select Mark for Hiding from the menu that appears. The tasks remain on display in the bar chart: you have marked them for hiding but you have not yet hidden them.
- On the Format tab, in the Show/Hide group, click
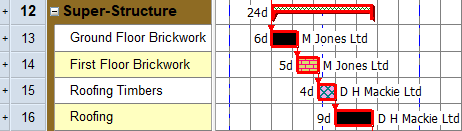
 . The tasks that you marked for hiding are hidden from the bar chart:
Before you continue, click again to redisplay the tasks.
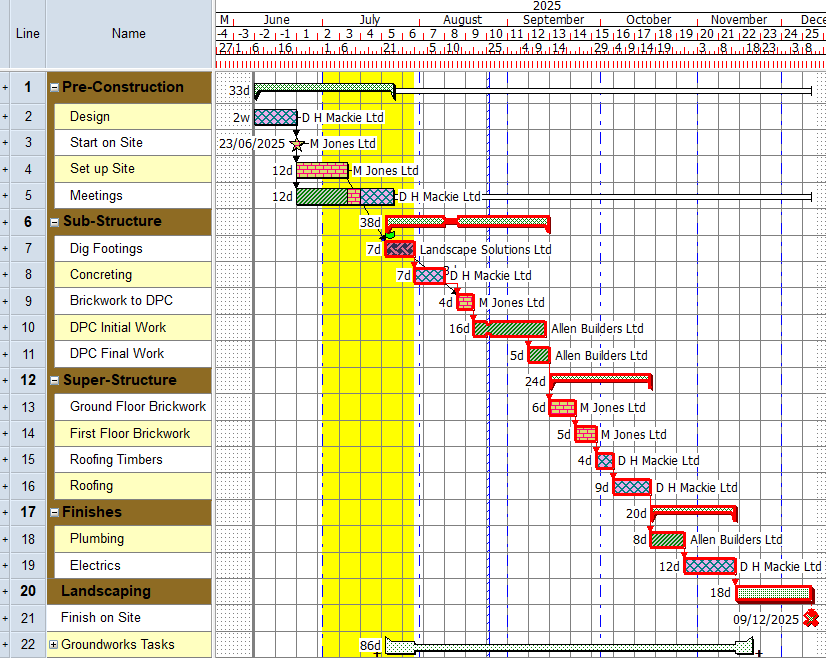
Your project should now look something like this (note that the dates and durations of tasks, and the appearance of codes, may be different):
| Previous | Next |
| Formatting the date zone | Configuring the spreadsheet |