Filtering tasks in a project
You can filter a project to display only information in which you are interested. For example, you could create and apply a filter that filters for tasks with a specific code library entry, or tasks with a particular calendar. Here, you will create and apply a filter that filters for tasks with a specific code library entry.
- On the View tab, in the View Data group, click the Filter dropdown and select New. The Filter Properties dialog appears:
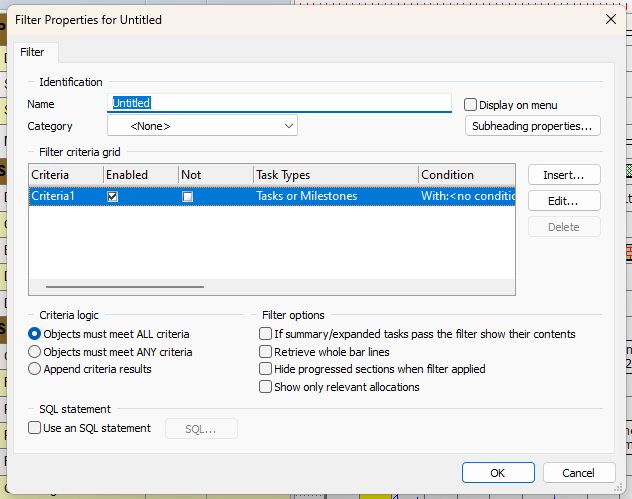
- Enter "Sub-Contractors Filter" in the Name field. You can set up as many filters as you need and the name identifies each one.
- Select the Display on menu check box. This makes the filter available on the Filter dropdown, making it easier to apply.
Note the Category field. You can create filter categories in Library Explorer and use these to organise your filters, making it easier to find the filter you want to apply if you have a large number of filters in a project. - You will now edit the criteria of the filter. Click Edit. The first screen of the Filter Wizard appears. You use the Filter Wizard to specify the objects that you want to include in your filter and to specify the conditions that objects must meet to be included.
- By default, tasks and milestones are included in the filter, so click Next without changing anything on the screen. The second screen of the Filter Wizard appears:
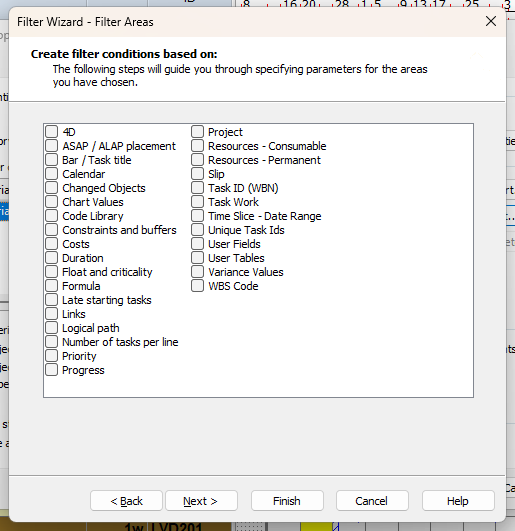
- You want to filter objects by code, so select the check box next to Code library and click Next. The third screen of the Filter Wizard appears:
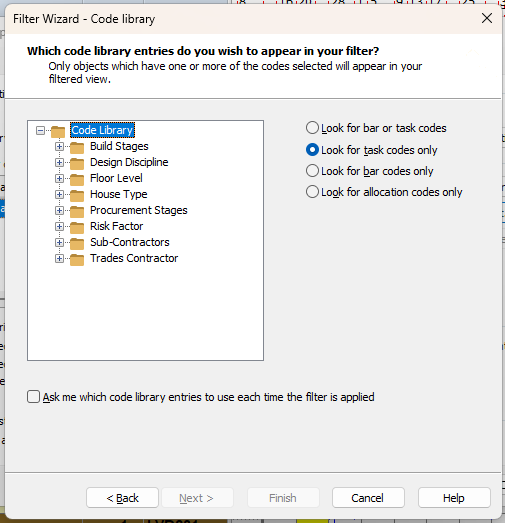
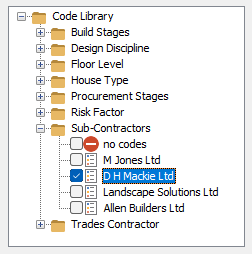
- This screen lists the available code libraries. You want to filter by a Sub-Contractors code, so click the + symbol next to the Sub-Contractors code library to view the codes within it, then select the check box next to one of the codes:
- Click Finish. You return to the Filter Properties dialog, which displays the filter criteria you have entered.
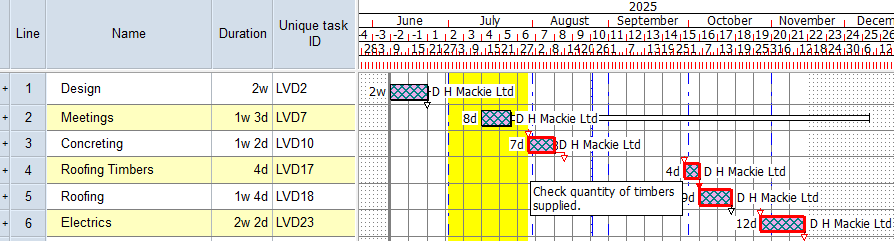
- Click OK to close the Filter Properties dialog. The filter is applied to your current view automatically and it now displays only those tasks to which the selected code has been applied:
- To turn the filter off and return to your normal view, on the View tab, in the View Data group, click the Filter dropdown and select No Filter.
Once you have created a filter, you can apply it at any time by selecting it from the menu that is available on the Filter dropdown
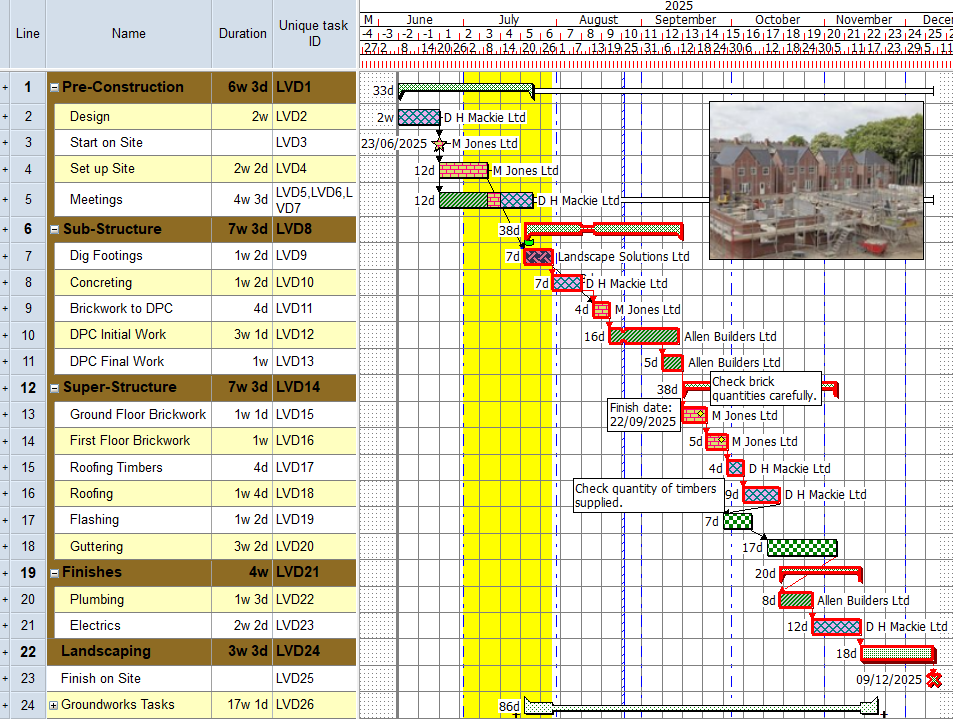
Your project should now look something like this (note that the dates and durations of tasks, and the appearance of codes and annotations, may be different):
| Previous | Next |
| Numbering tasks in a project | Sorting and grouping tasks in a project |