Creating resource libraries
Resources are the people, equipment and materials needed to carry out tasks in a project.
You create the resources you want in Library Explorer, then assign them to the tasks in your projects.
You can organise your resource libraries as a hierarchy of skills, equipment and materials. A hierarchical resource library is easier to manage and extend than a flat list of resources.
Asta Powerproject enables you to work with multi-skilled permanent resources. For example, a multi-skilled resource may be a bricklayer who also has plastering skills. You can define such resources in Asta Powerproject under both skills.
Asta Powerproject also supports demand and scheduled resource management. At the start of a project, the Project Manager can indicate that there is a demand for a particular type of resource for a task, without assigning an actual resource to the task. A specific resource can be assigned to the task at a later date, satisfying the demand.
Creating a permanent resource library
To create a permanent resource library:
- In the Quick Access toolbar, click
 . A new tab opens, displaying Library Explorer.
 - In the left pane of Library Explorer, click the Permanent Resource folder. As you based this project on the
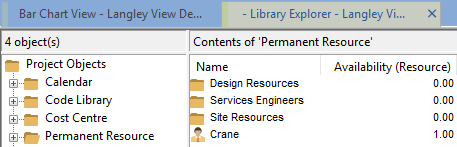
- Double-click the Site Resources folder in the right pane. A list of available resources appears:

At the moment, each of these resources represents a single resource. You will now turn two of these resources into resource folders, and create individual resources within the folders: - Right-click the Bricklayers resource and select Make Into Folder from the menu that appears.
- Do the same for the Roofers resource to turn this into a folder.
- Double-click the Bricklayers folder to open it. The right pane of Library Explorer appears blank, as the folder does not yet contain any resources.
- Right-click a blank part of the right pane and select New Permanent Resource from the menu that appears. A new resource appears in the right pane.
- Type "
- Type "
- Click in the Res appearance Foreground fill colour, Res appearance Background fill colour and Res appearance Pattern columns to select a different appearance for each resource. These appearances are used to colour-code resource allocations when you assign resources to tasks.
Library Explorer should now look something like this (note that the appearances of your resources may be different):
- In the left pane of Library Explorer, click the Roofers folder to display the contents of that folder in the right pane. Follow steps 7 to 10 to create three new resources in the Roofers folder, called "Alex Lee", "Ruth Cochrane" and "Nick Jacobs", with individual appearances.
You will now assign multiple skills to one of the permanent resources in the Roofers folder: - Click the
 icon next to the Alex Lee permanent resource.
 - Hold down CTRL and SHIFT, then click and drag the icon over the Bricklayers permanent resource folder in the left pane of Library Explorer. When the icon appears over the Bricklayers folder, release the left mouse button, then release CTRL and SHIFT:
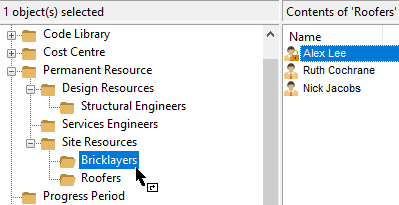
Notice that the Alex Lee permanent resource now has a shortcut icon. This identifies it as a multi-skilled resource. Alex Lee is now available in both the Roofers and the Bricklayers permanent resource folders.
Creating a consumable resource library
To create a consumable resource library:
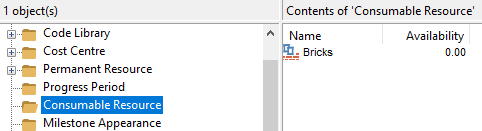
- In the left pane of Library Explorer, click the Consumable Resource folder.
- Right-click a blank part of the right pane and select New Consumable Resource from the menu that appears. A new resource appears in the right pane.
- Type "Roofing Tiles" and press ENTER. A new resource entry appears beneath the resource you have just created.
- Type "Beams" and press ENTER.
- Double-click the Bricks consumable resource. The Details tab of the Consumable Resource Properties dialog appears:
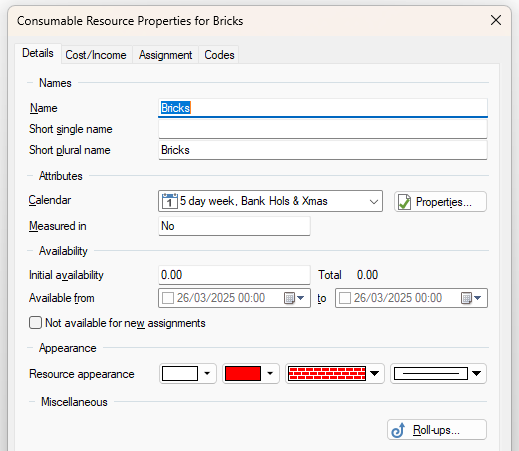
- In the Initial availability field, enter 10000.00 to show that you have 10,000 bricks available.
- Click in the Resource appearance fields to select a different appearance for the Bricks resource. These appearances are used to colour-code resource allocations when you assign resources to tasks.
- Click Close.
- Follow the above four steps to edit the initial availability and appearance of the Roofing Tiles and Beams consumable resources; specify that there are 50,000 roofing tiles and 200 beams available.
Library Explorer should now look something like this: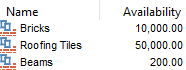
- Close Library Explorer.
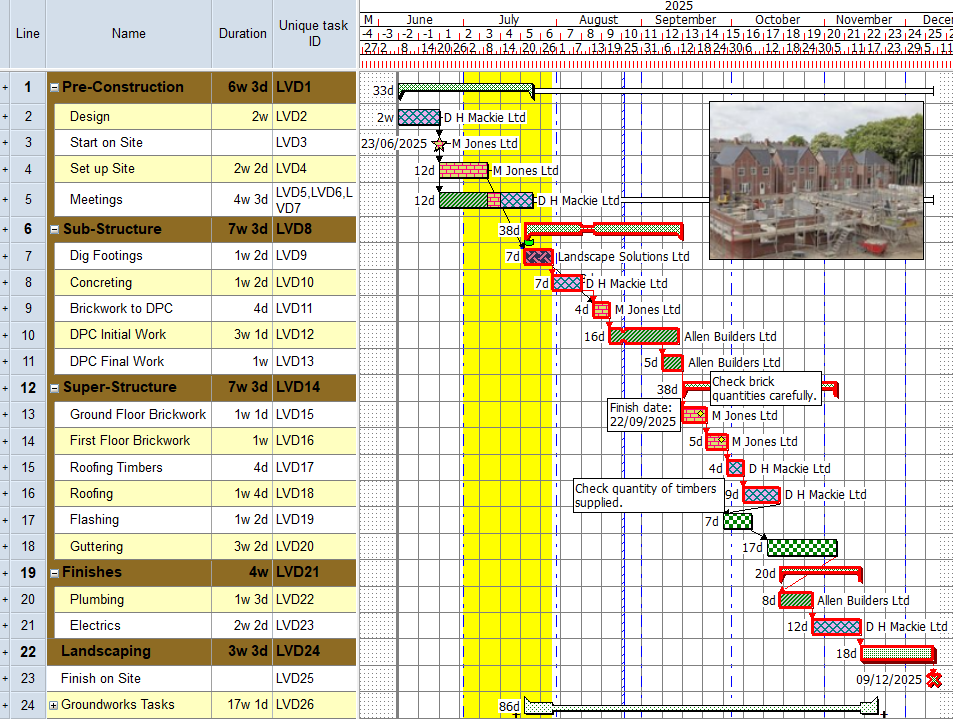
Your project should now look something like this (note that the dates and durations of tasks, and the appearance of codes and annotations, may be different):
| Previous | Next |
| Sorting and grouping tasks in a project | Assigning resources to tasks |