Annotating tasks in a project
You can annotate the tasks in a project with text, pictures, and links to external documents.
Creating text annotations
To create a text annotation on the bar chart:
- On the Format tab, in the Annotations group, click Text Annotation.
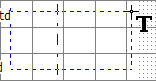
- Position the mouse pointer over a blank area of the bar chart. The cursor appears like this:

- Click and drag to draw a box in the bar chart:
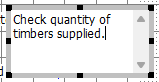
- Click in the box and type some text:
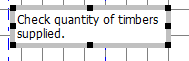
- Click away from the box when you have finished typing. The text annotation appears selected in the bar chart:
- Click away from the text annotation again to deselect it.
To create a text annotation that is attached to a task:
- On the Format tab, in the Annotations group, click Text Annotation.
- Position the mouse pointer over the edge of the task to which you want to attach an annotation. The cursor changes to an enclosed arrow, indicating the way in which the annotation will be attached to the task. In the illustration below the arrow shows that the annotation will be attached to the top-right of the task:

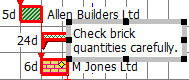
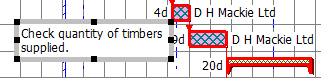
- Click and drag to draw a box in the bar chart, and enter text into the annotation as described above; an example is illustrated below:
Attaching annotations to tasks
The first annotation you created is not attached to any particular task; it is attached to the bar chart itself. You can attach annotations to different tasks as follows:
- Click the first annotation that you created to select it:
- Click and drag the annotation towards the task to which you want to attach it. The cursor changes to an enclosed arrow, indicating the way in which the annotation will be attached to the task. In the illustration below the arrow shows that the annotation will be attached to the bottom-left of the task:

- Release the mouse button to attach the annotation to the task:
Inserting fields into text annotations
You can insert the same fields that you can display in the spreadsheet into text annotations. This enables you to display project information in the bar chart.
To insert a field into a text annotation:
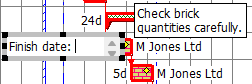
- Create a new text annotation, attached to a task, containing the words "Finish date:":

- Double-click the annotation so that the cursor appears inside it, ready for you to type:
- Right-click within the annotation. A menu of field categories appears:

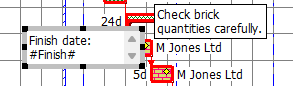
- Click the Date menu, then click Finish. The Object Chooser Task dialog appears. You can use this dialog to specify exactly what the field refers to
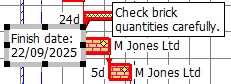
- Click away from the annotation. The finish date of the task to which the annotation is attached appears within the annotation:
Creating picture annotations
To create a picture annotation:
- On the Format tab, in the Annotations group, click Picture.
- Position the mouse pointer over a blank area of the bar chart. The cursor appears like this:

- Click and drag to draw a box in the bar chart. When you release the mouse button, the Picture tab of the Picture Annotation Properties dialog appears:
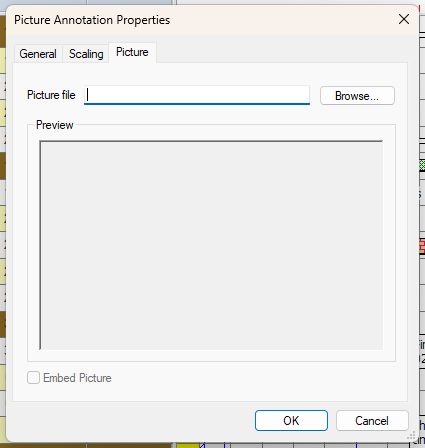
- Click Browse and select the picture that you want to add as an annotation, then click OK to close the Picture Annotation Properties dialog. The picture annotation appears on the bar chart:
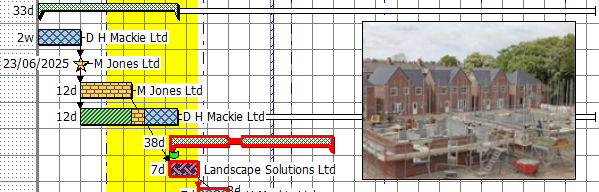
You can attach picture annotations to tasks in the same way that you attach text annotations to tasks.
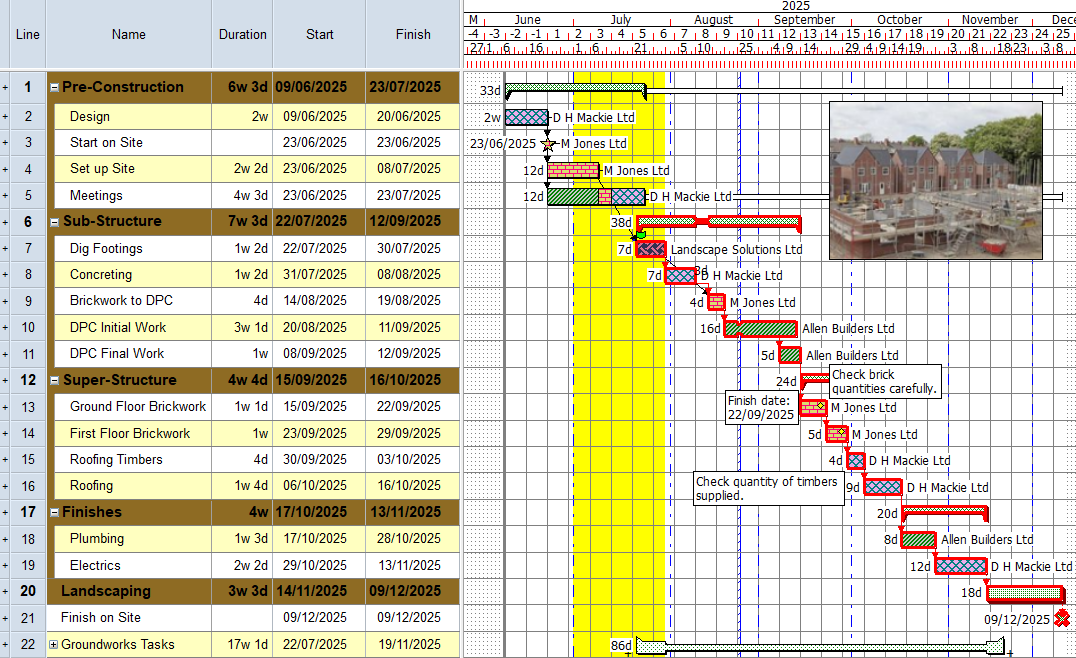
Your project should now look something like this (note that the dates and durations of tasks, and the appearance of codes and annotations, may be different):
| Previous | Next |
| Configuring the spreadsheet | Numbering tasks in a project |