Reporting progress against tasks
Before you start to report progress against tasks, you must check that you are using the correct progress period.
Checking that you are using the correct progress period
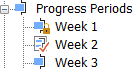
Click + next to Progress Periods in the project view to view the project's progress periods:
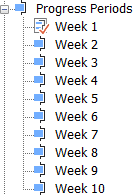
Note that the Week 1 progress period has a different icon to the rest of the progress periods in the list. This indicates that it is currently set to the be "progress entry period", ie the one that is currently being used to record progress in the project. This is correct for now; later, you will set other progress periods to be the "progress entry period".
Using the spreadsheet to report progress against a task
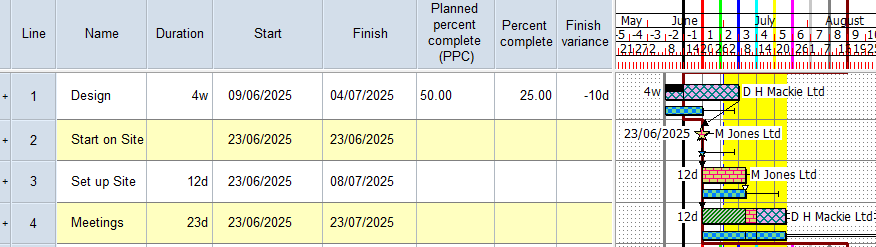
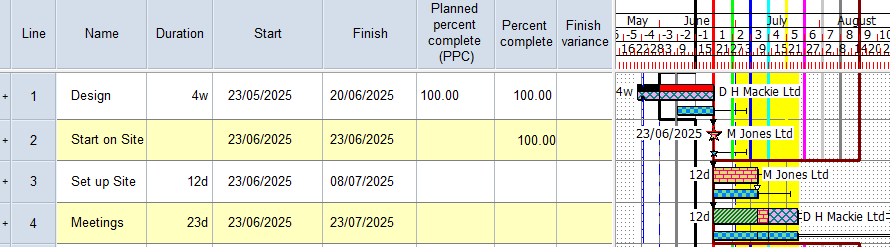
Click in the Percent complete column in the Design row and enter "25" then click away. Black shading - black is the colour of the Week 1 progress period - appears on the first quarter of the Design task. This indicates that the Design task has progressed by 25% in the Week 1 progress period:
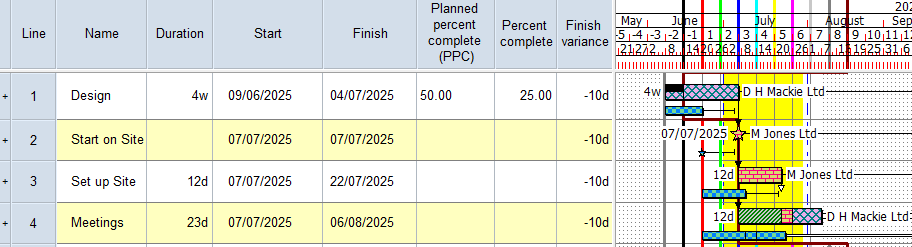
Let us now assume that you have reached the end of the Week 1 progress period. At the end of each progress period, it is good practice to  and click OK to dismiss the Reschedule Progress Period Warning dialog when it appears. The Pre-Construction summary group is rescheduled and the Week 1 progress line is straightened, pushing all uncompleted tasks to the right of it:
Locking progress periods and specifying the progress entry period
When marking progress against tasks and allocations, it is important to ensure that you always use the correct progress period for the current week or month: if you select the wrong progress period when marking progress,
One way in which you can prevent progress from being marked using the incorrect progress period is to lock historical progress periods to prevent their use. You can also, if you wish, lock future progress periods to prevent their use. If you were to do this at the end of each progress period - after you have rescheduled the project - you would always ensure that only the current progress period was available for use.
First of all, examine the progress periods in the project view:
At the moment, the Week 1 progress period is selected as the progress entry period - a red tick appears against it
- Right-click the Week 2 progress period in the project view and select Progress Entry Period from the menu that appears. The red tick moves from the Week 1 progress period to the Week 2 progress period, signifying that it is now the progress entry period:
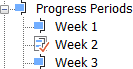
- Right-click the Week 1 progress period and select Locked from the menu that appears. A padlock symbol appears against the Week 1 progress period, signifying that it is now locked and not available for use:
Reporting progress against more tasks
- Click the uncompleted section of the Design task in the bar chart to select it:
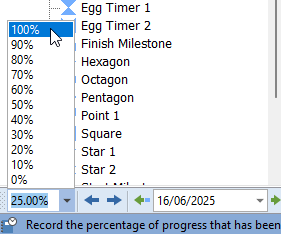
- Click in the Percent progress control at the far left of the Object Edit toolbar and select 100%:
Red shading - red is the colour of the Week 2 progress period - appears on the remaining section of the Design task. This indicates that the Design task has been completed in the Week 2 progress period:
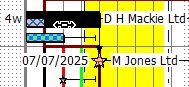
- Click in the Percent complete column in the Start on Site row. A dropdown progress selector appears. This is because the Start on Site task is a milestone. For milestones, you can only report progress of 0% or 100%, as milestones are either incomplete or complete. Select 100% and click away:

- Let us now assume that you have reached the end of the Week 2 progress period. and click OK to dismiss the Reschedule Progress Period Warning dialog when it appears. The Pre-Construction summary group is rescheduled and the Week 2 progress line is straightened, pushing all uncompleted tasks to the right of it:
- Right-click the Week 3 progress period in the project view and select Progress Entry Period from the menu that appears. The red tick moves from the Week 2 progress period to the Week 3 progress period, signifying that it is now the progress entry period.
- Right-click the Week 2 progress period and select Locked from the menu that appears. A padlock symbol appears against the Week 2 progress period, signifying that it is now locked and not available for use.
Your project should now look something like this (note that the dates and durations of tasks, and the appearance of codes, annotations, resources
| Previous | Next |
| Configuring a table for progress reporting |