Printing projects
Asta Powerproject prints whatever is in the active view, excluding the project view. This means that you can print any information you want from within Asta Powerproject, including the bar chart, spreadsheet and histograms.
Everything you print from within
Before you print, you must ensure that the active view displays the information that you want. For example, you could print the spreadsheet without the bar chart by turning off the bar chart, or turn off some display features to avoid including too much information in the printout.
To print the active view:
- Click the File tab, then click Print. A preview of the printout as it will appear is displayed.
- Click Full Preview. The Print Preview window appears.
- You can use the controls on the toolbar at the top of the window to configure the way in which the printout appears. Click the Border control - the
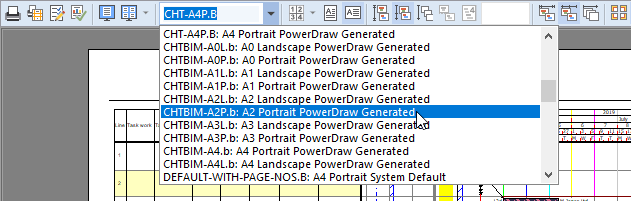
Select a few different border files until you find one that you like. - Experiment with some of the other toolbar controls to change the appearance of the output. When you are happy with the way it looks, click
 to print using your default printer.
Conclusion
This completes the Asta Powerproject tutorial. You now have the knowledge you need to create and maintain
This tutorial has taught you the basics. For more detailed information on how to make the most of Asta Powerproject's powerful features, refer to Asta Powerproject's comprehensive online Help.
| Previous | Next |
| Contact us |