Formatting summary bars
You can highlight the bars that indicate the project hierarchy - ie those on which summary tasks are located - by specifying the font colour, background colour and font that you want to apply to such bars. If you have structured a project with a multi-level hierarchy, by creating summary tasks within summary tasks, you can specify a different appearance for each level of the project hierarchy. For example, if the project hierarchy of summary tasks comprises four levels, you should define four different levels of appearance settings.
To specify appearance settings for the project hierarchy:
- On the Format tab, in the Format group, click Hierarchy Appearance; alternatively, right-click a summary group icon in the project view select Appearance from the menu that appears. The Hierarchical Appearance for Project Hierarchy dialog appears:

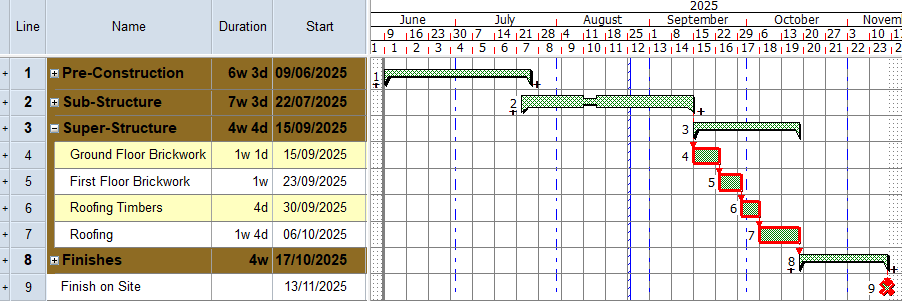
- Each row in the grid on this dialog represents a level of the project hierarchy. The appearance settings you define for the first row apply to the top level of the project hierarchy, the settings you define for the second row apply to the second level of the project hierarchy, and so on. The summary tasks you have created are in the second level of the hierarchy - the level below the Programme chart - so their spreadsheet rows are coloured dark turquoise:

- Click in the Background colour column in row 2 of the grid and select Sienna from the colour selector that appears (you can also select a different font and text colour if you want):

- Click OK to close the dialog and apply your changes. The spreadsheet rows relating to summary tasks are now coloured in sienna rather than dark turquoise:
You can configure
- Right-click a blank part of the bar chart and select Format Bar Chart from the menu that appears. The Format Bar Chart dialog appears.
- Click the General tab:
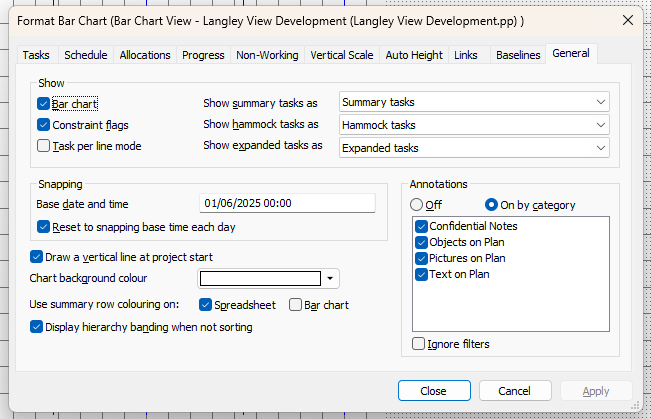
- Select the Use summary row colouring on - Bar chart check box.
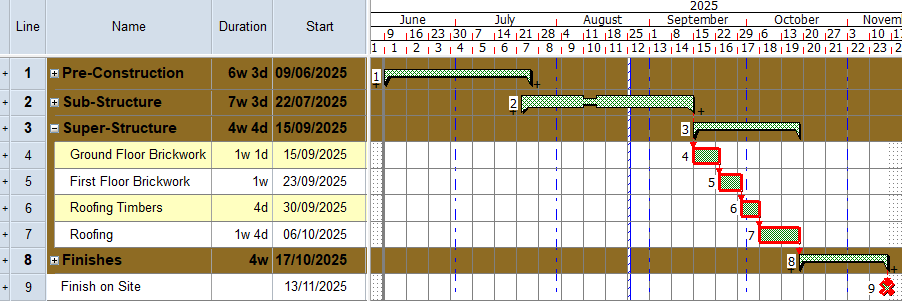
- Click Close. The sienna colouring is now displayed in the bar chart as well as in the spreadsheet for bars on which summary tasks are located.
Your project should now look something like this (note that the dates and durations of tasks may be different):
| Previous | Next |
| Removing tasks from and adding tasks to summary groups | Navigating around a project using the project view |