Creating a library of progress periods
You create progress periods in Library Explorer. Each progress period consists of a date up to which you are reporting progress (the report date), a line style for the report date and an appearance used for progress shading on the bar chart.
You can define a hierarchy of progress periods in Library Explorer. For example, each department might have its own progress period and each team within each department might have its own subordinate progress period. Alternatively, you could set up progress periods for each month - or week - of the year. Then when you assign progress for January - or for the first week in January - the progress shading uses the appearance of that particular month or week, and so on. This makes it immediately apparent in which month or week progress occurred and enables you to maintain an accurate "as built" record.
Here you will create a number of weekly progress periods.
- In the Quick Access toolbar, click
 . A new tab opens, displaying Library Explorer.
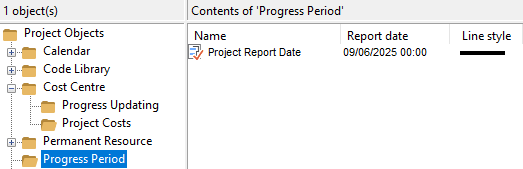
 - In the left pane of Library Explorer, click the Progress Period folder. The project already contains a single progress period, which appears in the right pane of Library Explorer:
- In the right pane, right-click the progress period in the Name column and select Rename from the menu that appears.
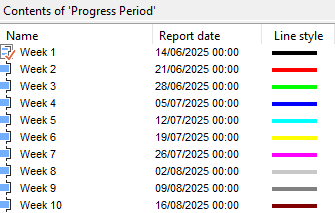
- Type "Week 1" in the Name column then click in a blank part of the right pane.
- Click the progress period in the Report date column and change the date to midnight on the first Saturday following the date on which you created the project.
- Right-click a blank area of the right pane and select New Progress Period from the menu that appears. A new progress period appears in the right pane.
- Type "Week 2" and press ENTER. A new progress period appears beneath the progress period you have just created.
- Repeat the above step to create eight more progress periods, named from "Week 3" to "Week 10". Notice that the report date of each progress period is set automatically to a week later than the previous progress period and that each progress period is given a different appearance (you can edit these appearances if you wish):
- Close Library Explorer.
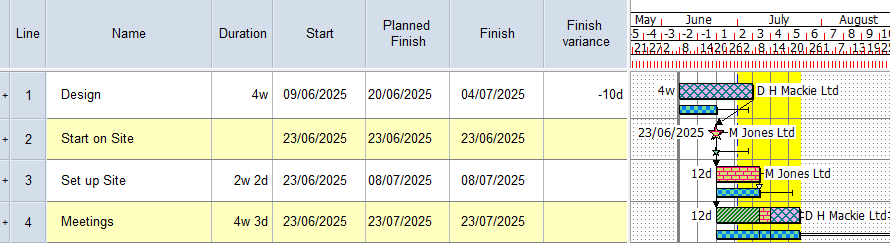
Before you continue, click the Pre-Construction summary group in the project view.
Your project should now look something like this (note that the dates and durations of tasks, and the appearance of codes, annotations, resources
| Previous | Next |
| Displaying progress information on the bar chart |