Installing Asta Powerproject SaaS
You can use Asta Powerproject SaaS on computers running Microsoft Windows or macOS. This topic describes how to install Asta Powerproject SaaS on both types of computer.
Install the Microsoft Remote Desktop Client
The first step of the installation is to install the Microsoft Remote Desktop Client. This is used to connect to the Azure Virtual Desktop, to access Asta Powerproject SaaS.
To install the Microsoft Remote Desktop Client on a computer running Microsoft Windows:
- Access the following webpage:
https://learn.microsoft.com/en-us/previous-versions/remote-desktop-client/connect-windows-cloud-services?tabs=windows-msrdc-msi - Check the 'Prerequisites' section of the webpage and ensure that your computer meets the listed requirements.
- In the 'Prerequisites' section of the webpage, in the 'Download the Remote Desktop client installer' bullet list, click 'Windows 64-bit' to download the 64-bit Remote Desktop client installer.
- When the download is complete, open the file.
If you are using Microsoft Edge, the link to open the file will look like this, at the top-right of your browser window:
If you are using Google Chrome, the link to open the file will look like this, at the bottom-left of your browser window: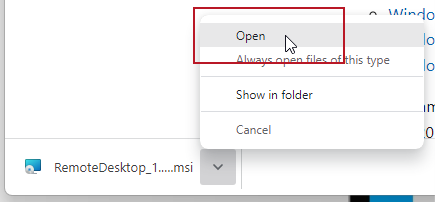
If you are using a different web browser, the link to open the file may look different.
You see the first screen of the Remote Desktop Setup Wizard: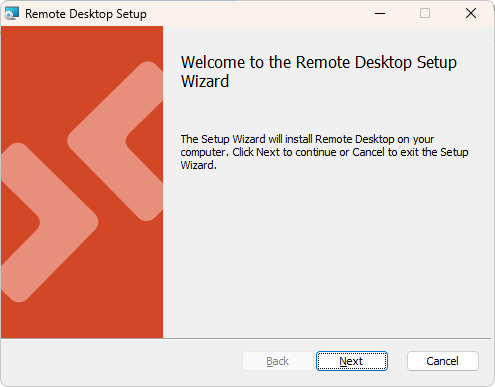
- Click Next and follow through the screens of the wizard.
- When you see the Installation Scope screen, click Install for all users of this machine then click Install:
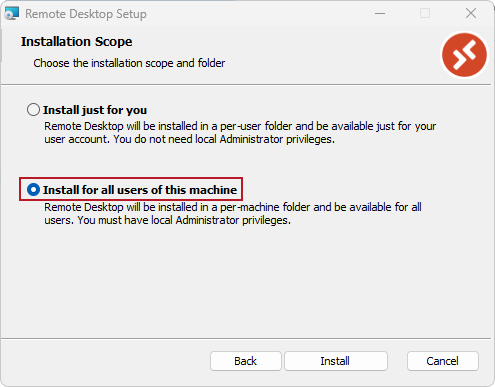
Microsoft Remote Desktop is installed. When the installation is complete, the final screen of the wizard appears: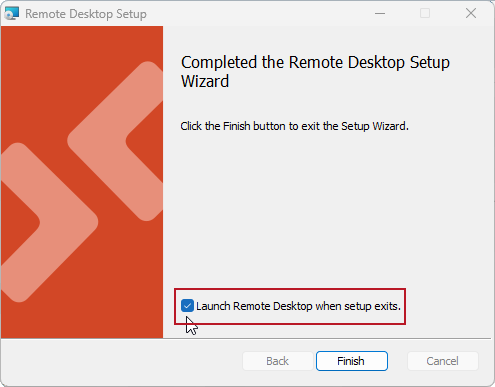
- With the Launch Remote Desktop when setup exits check box selected, click Finish. The wizard closes and Microsoft Remote Desktop opens:
To install the Microsoft Remote Desktop Client on a computer running macOS:
- Access the following webpage:
https://learn.microsoft.com/en-us/windows-server/remote/remote-desktop-services/clients/remote-desktop-mac - Follow the instructions in the 'Get the Remote Desktop client' section of the webpage to download and install the Remote Desktop Client from the Mac App Store.
- Launch the Remote Desktop Client when you have installed it.
The version of the Microsoft Remote Desktop Client that is currently available on the Mac App Store does not allow Asta Powerproject SaaS or other apps to access files that are stored locally or on network drives. A beta version of the Remote Desktop Client that does allow this is available for download here:
If you want to allow Asta Powerproject SaaS and other apps to access local files as well as files in your Cloud storage area, consider installing this beta version of the Microsoft Remote Desktop Client instead of the version that is available on the Mac App Store.
Configuring Microsoft Remote Desktop
You now need to configure Microsoft Remote Desktop.
To configure Microsoft Remote Desktop on a computer running Microsoft Windows:
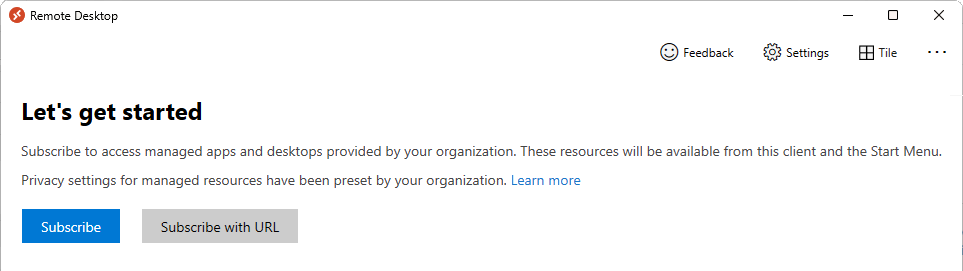
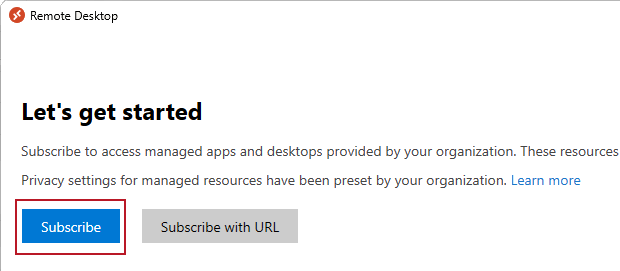
- Within Microsoft Remote Desktop, click Subscribe:
If you already have one or more Microsoft accounts, the Pick an account prompt appears, listing your accounts: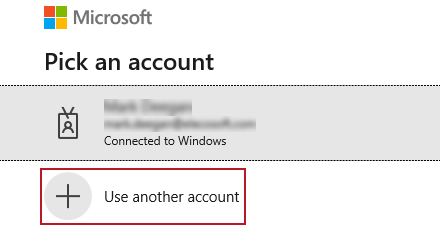
- Click Use another account. The Sign in prompt appears; if you do not already have a Microsoft account, the Sign in prompt appears as soon as you click Subscribe:
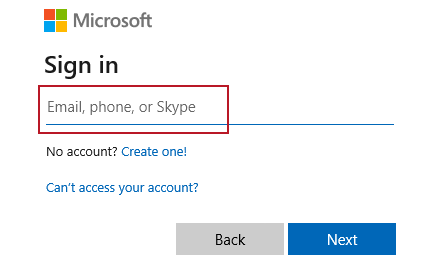
- Elecosoft will have provided you with a user name and password. Enter the user name that was provided by Elecosoft in the Email, phone or Skype field and click Next. The Enter password prompt appears:
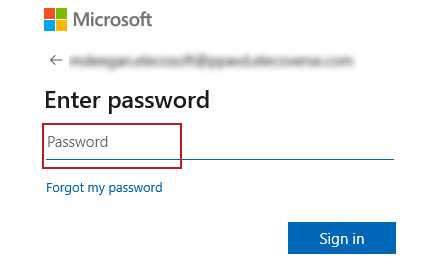
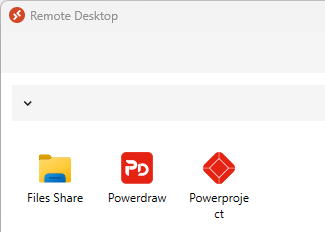
- Enter the password that was provided by Elecosoft in the Password field and click Sign in. The Remote Desktop workspace appears, with links to Asta Powerproject, Powerdraw and your Cloud-based files:
To configure Microsoft Remote Desktop on a computer running macOS:
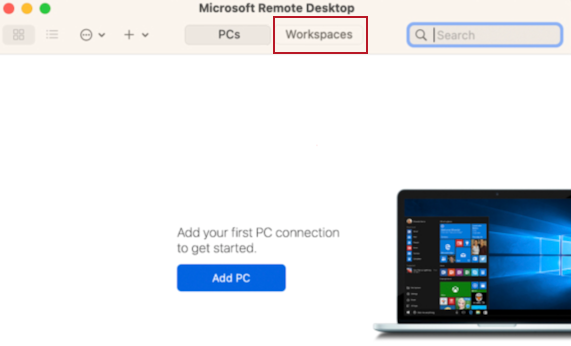
- Within Microsoft Remote Desktop, click Workspaces:
- Click Add Workspace, then when prompted, enter 'https://rdweb.wvd.microsoft.com'.
- Elecosoft will have provided you with a user name and password. When prompted, enter the user name and password that were provided by Elecosoft. The Remote Desktop workspace appears, with links to Asta Powerproject, Powerdraw and your Cloud-based files:
Launching Files Share and creating a virtual profile for yourself
You now need to create a virtual profile for yourself. To do this:
- In the Remote Desktop workspace, double-click the 'Files Share' app to launch it. The Enter your credentials prompt appears:
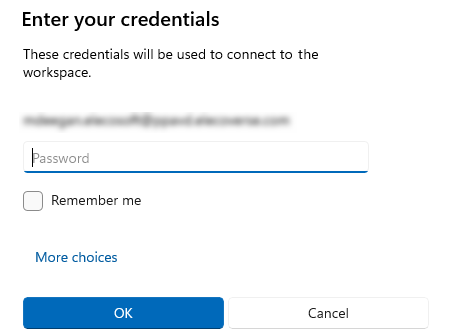
- Enter the password that was provided by Elecosoft in the Password field then click OK.
If you want to prevent this prompt from appearing each time you launch an app from the Remote Desktop workspace, select the Remember me check box before clicking OK. Note that this option is not available if you are using a computer running macOS.
A virtual profile is created for you; this may take a few minutes. Once the virtual profile has been created, the Files Share app is launched:
You have now completed the installation of Asta Powerproject SaaS. You can close the Files Share app if you wish.