Creating objects in Library Explorer
All library objects are created in the same way. To create a new object, open the library for the type of object that you want to create, then do any of the following:
- Right-click a blank area of the list view, then select New <Object>.
- Press CTRL SHIFT N.
- Click the white space in the Name column below the last entry.
A new object is created. You can now enter a name for the new object and set up its properties.
When you create a new subordinate object or folder, it inherits all its properties (except its name and unique ID) from its parent. Changing the properties of a subordinate object or folder does not affect the properties of its parent.
You can create a hierarchy of library objects by creating folders containing subordinate objects and more folders. For example, when setting up responsibility codes for a company, the first level of the hierarchy might be the different office locations, the next level might be the departments and the third level might be individual employees.
To create folders with which to set up a hierarchy of library objects, open the library for the type of object that you want to create, then do any of the following:
- Right-click a blank area in the list view, then select New Folder.
- Right-click an object in the list view, then select Make Into Folder. The selected object then becomes a folder in which you can create further objects and folders.
- Right-click an object in the list view, then select Make <Object> Sub-entry. The object becomes a folder and a new subordinate object is created within it.
Some libraries, such as the currency unit and filter libraries, cannot be hierarchical. These libraries can contain a flat list of objects but no folders.
Copying and pasting lists of users, codes and resources into Library Explorer
You can copy and paste lists of
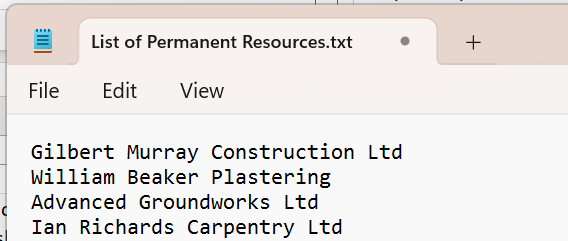
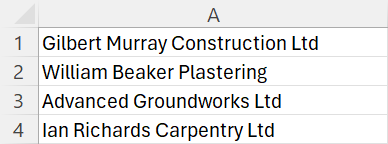
You can copy and paste lists from a variety of applications. For example, you can copy lists in which each item is separated by a 'carriage return' from text editors such as Microsoft Notepad or Microsoft Word; and you can copy lists in which each item comprises an individual cell in a spreadsheet column from spreadsheet editors such as Microsoft Excel.
The following illustration shows a list of permanent resources in Windows Notepad:
The following illustration shows a list of permanent resources in Microsoft Excel:
To copy and paste a list of
- In the external application in which the list exists, for example Windows Notepad or Microsoft Excel., copy the list of
- In Asta Powerproject, open Library Explorer and access the folder into which you want to paste the list.
- You can paste a list of users into any folder in the User folder in Library Explorer, but not directly into the User folder itself - ie the folder at the top of the user hierarchy.
- You can paste a list of codes into any folder in the Code Library folder in Library Explorer, but not directly into the Code Library folder itself - ie the folder at the top of the code library hierarchy.
- You can paste a list of consumable resources into any folder in the Consumable Resource folder in Library Explorer, and directly into the Consumable Resource folder itself - ie the folder at the top of the consumable resource hierarchy.
- You can paste a list of consumable resources into any folder in the Consumable Resource folder in Library Explorer, and directly into the Consumable Resource folder itself - ie the folder at the top of the consumable resource hierarchy.
- Right-click the folder into which you want to paste the list of
When you paste a list of codes into Library Explorer, different foreground colours are assigned to each code automatically. You can change these if you want, by editing each code individually.